
Table of Contents
- Why Home Gym Maintenance Determines How Long Your Equipment Lasts
- Your Gym Equipment Cleaning Schedule: Daily, Weekly, and Monthly Tasks
- How to Prevent Rust on Dumbbells, Bars, and Weight Plates
- The Best Lubricant for Gym Equipment: Silicone Spray, Degreaser, and When to Use Each
- Cardio Machine Maintenance: Treadmill Belts, Ellipticals, and Electrical Components
- Troubleshooting Noises and Diagnosing Wear and Tear
- Your Home Gym Maintenance Checklist: Seasonal, Storage, and Eco-Friendly Practices
- Frequently Asked Questions
Last Updated: September 16, 2026
Why Home Gym Maintenance Determines How Long Your Equipment Lasts
Learning how to maintain home gym equipment for longevity comes down to one principle: small, consistent care prevents the expensive failures that force replacements. Well-kept gear regularly outlasts neglected equipment by years, not months. Sweat, dust, and friction are the three silent killers of a home setup. Left alone, they attack metal, upholstery, and moving parts until a treadmill belt slips or a barbell starts to pit.
Your Gym Equipment Cleaning Schedule: Daily, Weekly, and Monthly Tasks
A workable gym equipment cleaning schedule splits tasks by how often they need attention. Daily actions take under two minutes; weekly and monthly jobs take longer but happen less often.
Daily Wipe-Downs and Surface Sanitization
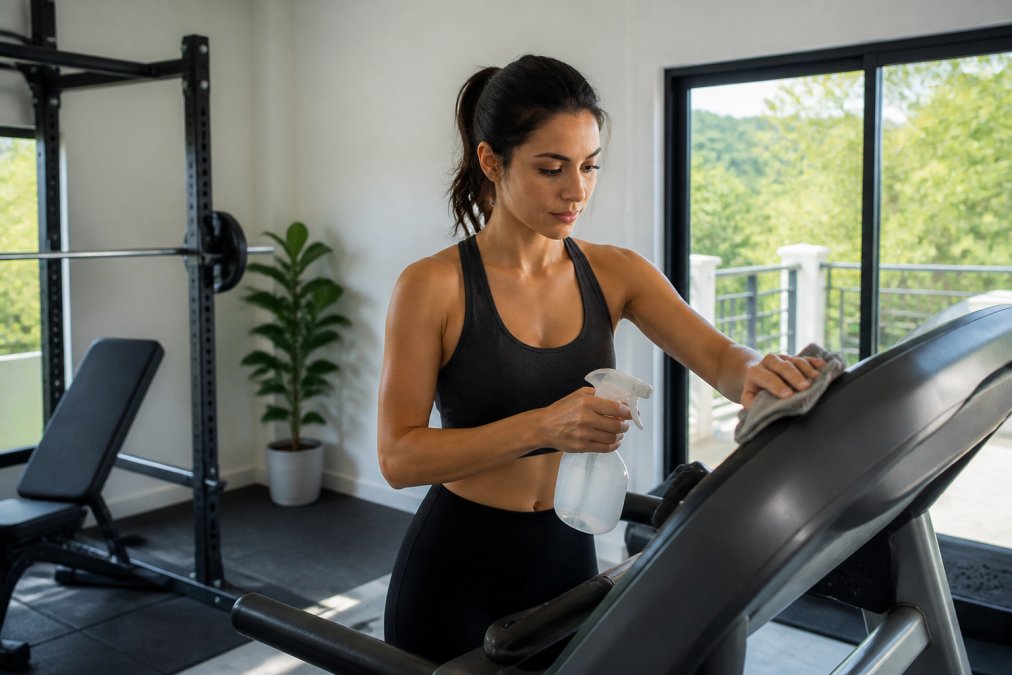
Wipe down anything your skin touches immediately after use. Sweat is acidic and salty, and it eats through paint, chrome, and vinyl over time. A damp microfiber cloth handles most surfaces; a mild sanitizer works for shared or heavily used gear. Pay attention to handles, pads, and seat covers, where moisture lingers longest.
Weekly and Monthly Deep Cleaning Routines
Once a week, vacuum around and under machines to stop dust from reaching belts and bearings. Once a month, check crevices, tighten loose fasteners, and inspect upholstery for cracking. A common mistake is ignoring the underside of benches and the space behind cardio equipment, where dust and moisture collect unnoticed.
| Frequency | Task | Time Needed |
|---|---|---|
| Daily | Wipe handles, pads, seats | Under 2 minutes |
| Weekly | Vacuum around and under machines | 10 minutes |
| Monthly | Tighten hardware, inspect upholstery | 20-30 minutes |
| Seasonal | Full structural inspection | 1 hour |
How to Prevent Rust on Dumbbells, Bars, and Weight Plates
Knowing how to prevent rust on dumbbells, bars, and weight plates protects the metal that carries your loads. Rust starts with moisture and accelerates where sweat sits on bare steel. Store weights off damp floors and wipe them dry after every session. A light coat of oil on bare steel bars creates a barrier that blocks corrosion without making the surface slick during lifts.
The Best Lubricant for Gym Equipment: Silicone Spray, Degreaser, and When to Use Each
The best lubricant for gym equipment depends on the part. Silicone spray suits most home machines because it is clean, dry, and safe on rubber and plastic. Use it on guide rods, cables, and pulleys to cut friction and keep motion smooth. A degreaser is not a lubricant; it removes old grease and grime from chains and exposed mechanisms before you reapply a fresh coat.
- Silicone spray: guide rods, cables, pulley tracks, and weight stacks
- Degreaser: chains, exposed gears, and grimy metal before relubrication
- Avoid: general-purpose oils that collect dust and gum up over time
Cardio Machine Maintenance: Treadmill Belts, Ellipticals, and Electrical Components
Cardio machines carry the most moving parts, so they need the most attention, and the most specific instructions. Generic advice like "check the belt" is useless without a test you can actually run. Use the procedures below, then fold them into the seasonal calendar at the end of this section.
Treadmill Belt: Tension, Alignment, and Lubrication
Tension test. With the treadmill unplugged, stand at the rear of the deck and lift the belt edge at its midpoint. Most manufacturers specify a gap of roughly two to three inches between the belt and the deck when you lift with moderate force. If the belt lifts higher, it is too loose and will slip underfoot; if you can barely lift it, it is too tight and is loading the front and rear rollers.
Ellipticals: Pivot Points, Rails, and Resistance Mechanisms
Ellipticals fail at their joints, not their frames. The high-wear points are the pedal arm pivots, the handlebar pivots, and the roller tracks under the pedals.
- Squeaks on the push/pull: dry pivot bushings. Apply silicone spray to the pivot, then cycle the arms through a full range of motion to work it in.
- Grinding or roughness in the pedals: worn roller bearings or debris on the rails. Wipe the rails with a dry cloth, then inspect the rollers for flat spots.
- Inconsistent resistance: on magnetic and eddy-current units, this is usually an electrical or console issue, not a mechanical one, stop and consult the manual before disassembly.
Electrical Components and Consoles
Keep the console, power cord, and motor housing dry and dust-free. Unplug the machine before any cleaning near the console or cord, and never spray liquid directly onto a display, spray the cloth, then wipe. Dust buildup inside a motor housing traps heat, which is one of the leading causes of premature motor failure on home treadmills. Vacuum the vents monthly with a brush attachment.
Seasonal Cardio Maintenance Calendar
| Season | Treadmill | Elliptical |
|---|---|---|
| Every 3 months | Check belt tension and alignment; lubricate belt | Lubricate pivot points; wipe rails |
| Every 6 months | Vacuum motor housing vents; inspect power cord | Inspect roller bearings; tighten pedal hardware |
| Annually | Replace belt if glazed or frayed; check deck for wear | Replace worn bushings; full hardware torque check |
Troubleshooting Noises and Diagnosing Wear and Tear
Most odd noises have a specific cause, and diagnosing them early prevents bigger repairs. The unique angle here is a symptom-first approach: start with what you hear, then work down to the likely source. This is the fastest way to fix a squeaky treadmill or clanking weights without guessing.
Symptom-to-Cause Diagnostic Table
| What you hear | Most likely cause | First check |
|---|---|---|
| Rhythmic squeak, once per pedal or step | Dry pivot point or guide rod | Lubricate with silicone spray; cycle through full range of motion |
| Continuous high-pitched squeal on a treadmill | Belt running dry against the deck | Check belt lubrication interval; apply belt conditioner |
| Grinding or rumbling | Worn bearings or misaligned belt | Stop use; inspect rear roller bearings and belt alignment |
| Rattling or clanking | Loose hardware, bolts, collars, weight stack pins | Tighten all frame and stack hardware; check collars on bars |
| Metallic ping or pop from a barbell | Loose sleeve, bent bar, or debris in the knurling | Inspect for bends; clean knurling; check end caps |
| Clicking from a cable machine | Frayed cable or worn pulley bushing | Inspect cable for fraying; replace before further use |
| Hum that changes pitch under load | Motor strain or belt too tight | Re-check belt tension; listen for bearing noise |
How to Isolate the Source
Run the machine slowly and listen before you touch anything. Change one variable at a time, speed, load, or direction, and note when the noise appears. A noise that only happens under load points to a bearing or belt; a noise that happens at all speeds points to a pivot or fastener. For free weights, set the bar in a rack and rotate the sleeves by hand; a rough or gritty feel means the sleeve needs cleaning or the bar has internal damage.
Safety Triage: When to Stop
Some noises are cosmetic; others are warnings. Stop using the equipment immediately if you hear:
- A cable clicking or popping, a frayed cable can snap under load.
- Grinding from a treadmill motor or roller, continued use can seize the belt mid-run.
- Any cracking sound from a frame weld or a weight plate.
Log It, Don't Memorize It
Keep a simple maintenance log, date, symptom, action taken, and result. Over a few months, patterns emerge: a squeak that returns every three weeks tells you the pivot needs a more durable lubricant, not just another spray. The log also gives you a record if a warranty claim becomes necessary.
Your Home Gym Maintenance Checklist: Seasonal, Storage, and Eco-Friendly Practices
A home gym maintenance checklist keeps the whole routine on track, and seasonal reviews catch problems before they spread. Twice a year, inspect every load-bearing component, from frame bolts to cable attachments, and replace anything showing wear. For storage, keep equipment in a dry, temperature-stable space away from direct sun, which degrades rubber and vinyl. Eco-friendly cleaning solutions, such as diluted white vinegar or plant-based sanitizers, handle routine sanitization without harsh chemicals.
- Wipe all touch points after each session
- Vacuum under machines weekly
- Lubricate guide rods and cables monthly
- Inspect belts, bolts, and cables each season
- Store gear dry and out of direct sunlight
Frequently Asked Questions
What is the average lifespan of home gym equipment?
With consistent home gym maintenance, most quality equipment lasts 5 to 10 years. Treadmills often need belt replacement around 5 to 7 years, while cast-iron dumbbells and barbells can last decades if you prevent rust and keep them dry. Regular cleaning, lubrication, and inspections are the biggest factors in hitting the upper end of that range.
How often should I clean and lubricate my gym equipment?
Wipe down surfaces after every workout, sanitize upholstery and handles weekly, and deep clean monthly. Lubricate treadmill belts according to the manufacturer's recommendation, usually every 3 months or 150 miles, and apply silicone spray to guide rods monthly. Cables and pulleys need lubrication only when they start squeaking or feel stiff. A written gym equipment cleaning schedule keeps this consistent.
How do I prevent rust on my weight plates and bars?
Keep humidity below 50 percent with a dehumidifier, wipe bars and plates with a dry microfiber cloth after every session, and apply a thin coat of 3-in-1 oil or a dedicated bar oil monthly. Store plates off concrete floors, which trap moisture. If rust appears, scrub it with steel wool and re-oil immediately. These steps are the core of how to prevent rust on dumbbells too.
What are the best cleaning supplies for home gym surfaces?
Use a microfiber cloth with a mild soap and water solution for metal and plastic, and a diluted white vinegar spray for upholstery. Avoid bleach and ammonia on vinyl, as they cause cracking. For a natural option, mix one part vinegar to three parts water. Always dry surfaces after cleaning to prevent moisture buildup that leads to corrosion.
Home gym equipment only lasts as long as the care behind it. The routines above take minutes, but they decide whether your setup performs for years or fails in months. At PureFitnessWarehouse.com, we stock durable equipment, recovery tools, and accessories designed to hold up to consistent training, backed by a data-driven approach to performance. Shop our catalog and build a home gym built to last.