

Table of Contents
- Why Protein Powder Clumps and How to Prevent It
- Liquid First vs. Powder First: The Right Order Matters
- Getting the Liquid to Powder Ratio for Protein Shakes Right
- Protein Shaker Bottle vs. Blender: Which Works Best
- The Paste Method for Clump-Free Consistency
- How to Fix Clumpy Protein Powder You've Already Mixed
- Best Liquids for Smooth Protein Shakes and Temperature Tips
- Common Mistakes That Cause Clumps
- Frequently Asked Questions
Last Updated: September 26, 2026
Why Protein Powder Clumps and How to Prevent It
Clumpy protein powder is frustrating. You shake hard, you wait, and still find grainy chunks at the bottom of your drink. The problem isn't your technique, it's chemistry.

Protein powder particles are hydrophobic, meaning they repel water. When powder hits liquid directly, the outer layer absorbs moisture and forms a seal around the dry center. This creates clumps. The solution is understanding how solubility works and controlling the mixing process.
Clumping is completely preventable with the right approach. Most mistakes come from rushing the process or using the wrong mixing method for your protein type.
This guide covers proven techniques for how to mix protein powder smoothly without clumps, the science behind clumping, and how to fix batches you've already made.
Liquid First vs. Powder First: The Right Order Matters
Adding liquid first creates a better foundation for even hydration, allowing powder to gradually integrate.
Here's the process:
- Pour your liquid into the shaker bottle (milk, water, or alternative)
- Add your protein powder slowly while shaking gently
- This prevents clump formation at the surface
Powder first creates turbulence; liquid crashes into dry powder and causes immediate clumping.

Room-temperature liquid mixes more smoothly than cold liquid. If you prefer cold shakes, add powder more slowly or use the paste method.
Getting the Liquid to Powder Ratio for Protein Shakes Right
The ideal ratio varies based on protein type and solubility.
Standard baseline ratio:
- 1 scoop of protein powder = 6-8 ounces of liquid
- 2 scoops = 10-12 ounces of liquid
- 3 scoops = 14-16 ounces of liquid
Why protein type changes your ratio:
Whey isolate dissolves quickly and needs 6-8 ounces per scoop. Whey concentrate is slightly less soluble and benefits from 7 ounces per scoop.
Casein is resistant to smooth mixing. Use 7-9 ounces per scoop, shake longer, or use the paste method. Room-temperature liquid helps since hydration is slower.
Plant-based proteins have larger particle sizes and lower solubility. Use 7-9 ounces per scoop. Persistent clumps usually indicate insufficient liquid.
Start with the standard ratio and adjust by 1 ounce based on consistency. Write down your ratio for each brand, as particle sizes vary.
After shaking 20 seconds, your shake should coat a spoon lightly but flow off within 2-3 seconds. Adjust liquid accordingly.
Protein Shaker Bottle vs. Blender: Which Works Best
Both work: shaker bottles are fast and portable; blenders create smoother texture but require more cleanup.
Shaker bottle advantages:
- Takes 30 seconds
- Portable for work, gym, or travel
- Minimal cleanup
- Works well for single servings
- Best for whey protein and most standard powders
Blender advantages:
- Creates the smoothest texture
- Eliminates all sediment
- Allows you to add whole fruits, ice, or nut butter
- Better for plant-based proteins that resist mixing
- Best for large batches
For most people, a quality shaker bottle is the better choice. The PureFitnessWarehouse.com 28 oz Shaker Bottle uses ACTIV shaker technology with a mixing ball that ensures clump-free consistency every time. The mixer slides smoothly from top to bottom on the fixed rod, ensuring a clump-free drink every time. It also features an integrated hook on the leak-free lid, making it easy to grab and carry.
Use a blender for multiple shakes or whole ingredients. A shaker bottle is more practical for single servings.
The Paste Method for Clump-Free Consistency
This technique works for any protein type and creates the smoothest possible result. It takes an extra 20 seconds but eliminates clumps almost completely.
Here's exactly how it works:
- Pour 2 ounces of your liquid into the shaker bottle
- Add your protein powder scoop
- Shake gently for 10 seconds, this creates a smooth paste
- Add the remaining liquid slowly while shaking
- Shake vigorously for 15-20 seconds
The paste method controls hydration by fully saturating powder particles before adding more liquid, preventing clumps from forming.
Once the paste forms, adding remaining liquid gradually prevents re-clumping since the powder is already hydrated.
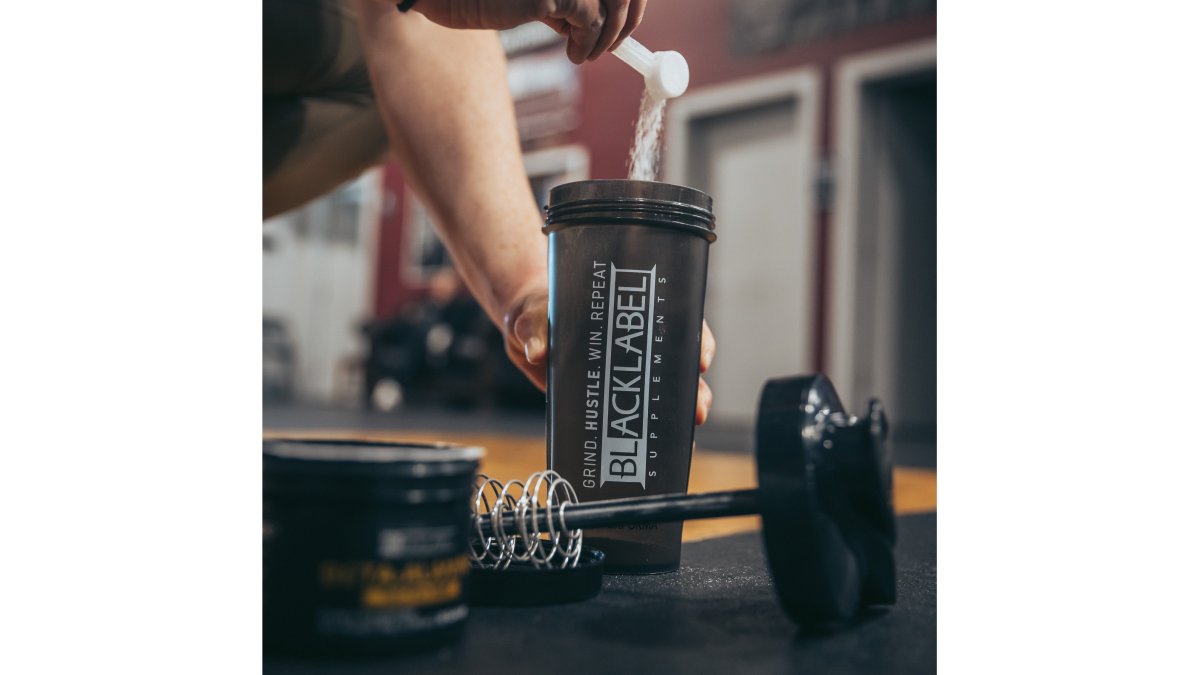
This method is especially effective for plant-based proteins, which have larger particles that need more time to hydrate.
How to Fix Clumpy Protein Powder You've Already Mixed
Sometimes you end up with a lumpy shake anyway. Don't waste it, fix it.
Option 1: Vigorous shake (30-45 seconds for fresh clumps). Option 2: Strainer method (press through fine mesh). Option 3: Blender rescue (blend with 2-3 oz additional liquid). Option 4: Wait-and-shake (let sit 2-3 minutes, then shake 20 seconds for minor clumping). Use the blender method for hardened clumps.
Best Liquids for Smooth Protein Shakes and Temperature Tips
Your liquid choice affects both taste and mixability, and temperature plays a more critical role in preventing clumps than most guides acknowledge. Understanding the science helps you mix confidently with any liquid temperature.
Liquid choice and mixability:
Milk (dairy or non-dairy) creates the smoothest consistency because of emulsification, the fat and proteins in milk help suspend powder particles evenly. Dairy milk emulsifies slightly better than plant-based alternatives due to its natural casein and whey content, but any milk works well. Water mixes smoothly but creates thinner texture and offers no emulsification benefit. Coconut milk adds richness and its fat content helps with suspension, though it requires slightly longer shaking. Almond milk is light and works well for most protein types but provides minimal emulsification.
Temperature and protein denaturation, the real science:
Temperature affects both mixing speed and protein structure. Cold liquid slows hydration because water molecules move more slowly at lower temperatures, giving clumps more time to form before agitation breaks them apart. Room-temperature liquid (68-72°F) allows faster hydration and smoother mixing without any structural damage to the protein.
Heat, however, can denature protein, meaning it breaks the three-dimensional structure that makes protein functional. Different protein types denature at different temperatures:
- Whey protein: Begins denaturing around 140-150°F. At 160°F, significant structural breakdown occurs. Mixing whey with liquid hotter than 150°F creates a grainy, separated texture and reduces the protein's bioavailability.
- Casein protein: More heat-stable than whey. Casein can tolerate temperatures up to 160-170°F before significant denaturation occurs, though texture may become slightly grainy above 155°F.
- Plant-based proteins: Generally less heat-stable than whey. Pea and rice proteins begin showing texture changes around 130-140°F. Soy protein is slightly more stable, tolerating up to 150°F before noticeable degradation.
Practical temperature guidelines:
If you want a warm shake, mix with room-temperature liquid first (using your normal technique), then slowly add hot liquid afterward. This keeps the protein from denaturing while giving you the warm temperature you want. Alternatively, mix with warm (not hot) liquid at 110-120°F, warm enough to feel comforting but cool enough to avoid denaturation.
If you prefer cold shakes, add the powder more slowly or use the paste method.
Liquid temperature summary:
- Room temperature (68-72°F): Optimal for mixing speed and protein integrity
- Warm (110-120°F): Safe for all protein types, creates comforting texture
- Hot (above 140°F): Risk of denaturation; avoid for whey and plant proteins
- Cold (below 50°F): Slows mixing; compensate with longer shaking or paste method
Common Mistakes That Cause Clumps
Most clumping comes from preventable errors. Knowing what to avoid saves you from frustration.
Frequently Asked Questions
What is the best order to add ingredients when mixing a protein shake?
Add liquid first, then protein powder. This is the single most effective way to prevent clumps. When powder hits liquid directly, the outer particles hydrate and form a skin that traps dry powder inside, creating lumps. By adding liquid first, you create space for the powder to disperse evenly. If you're using a shaker bottle with a mixing ball, pour your liquid base, add the scoop of powder, then shake for 10-15 seconds for a smooth, clump-free result.
How do you get the liquid to powder ratio for protein shakes correct?
Use 1 scoop of powder per 6-8 ounces of liquid as your baseline. This ratio prevents over-thickening while ensuring enough liquid for proper dissolution and agitation. If your shake feels too thick, add 2-4 ounces more liquid and re-shake. If it's too thin, add a half scoop of powder. The right consistency should be drinkable but not watery, think smoothie, not soup. Adjust based on your protein type; plant-based proteins sometimes need slightly more liquid due to lower solubility.
Should I use a protein shaker bottle vs blender for mixing?
A shaker bottle with a mixing mechanism works for most daily shakes and is convenient for travel or the gym. An immersion blender or full blender creates a more homogenous texture and is better for large batches or thick shakes with oats or frozen fruit. For quick post-workout mixing, the 28 oz Shaker Bottle with ACTIV technology ($12.99) uses an actionrod that slides smoothly to break up clumps. For meal-prep batches or complex recipes, a blender provides superior aeration and texture.
Can you fix protein powder that's already clumpy?
Yes. If your shake is already lumpy, pour it into a blender and blend for 20-30 seconds on low speed. The agitation and aeration will break down the clumps and create a smoother suspension. If you don't have a blender, strain the shake through a fine mesh strainer or whisk vigorously for 30 seconds with a fork. For future mixes, use the paste method: mix a small amount of powder with just enough liquid to form a paste, then add the rest of your liquid and shake. This prevents the clumping from happening in the first place.